Though everyone cherishes their wedding photos for a lifetime, sometimes it's not possible to make your pictures perfect in one click. So, it’s an obvious thing to edit your photos and make your wish come true.
To create a great photo, only pressing the shutter isn’t enough. Those pictures need to be edited and turned into a story in post-production. Editing tools like cropping, removing noise, and adjusting the dark edges can save you time.
To make your pictures a splendid shot, add some color and hues to them. Here in this write-up, we’ve discussed ten pro editing tips to make your wedding photos gorgeous and attractive.
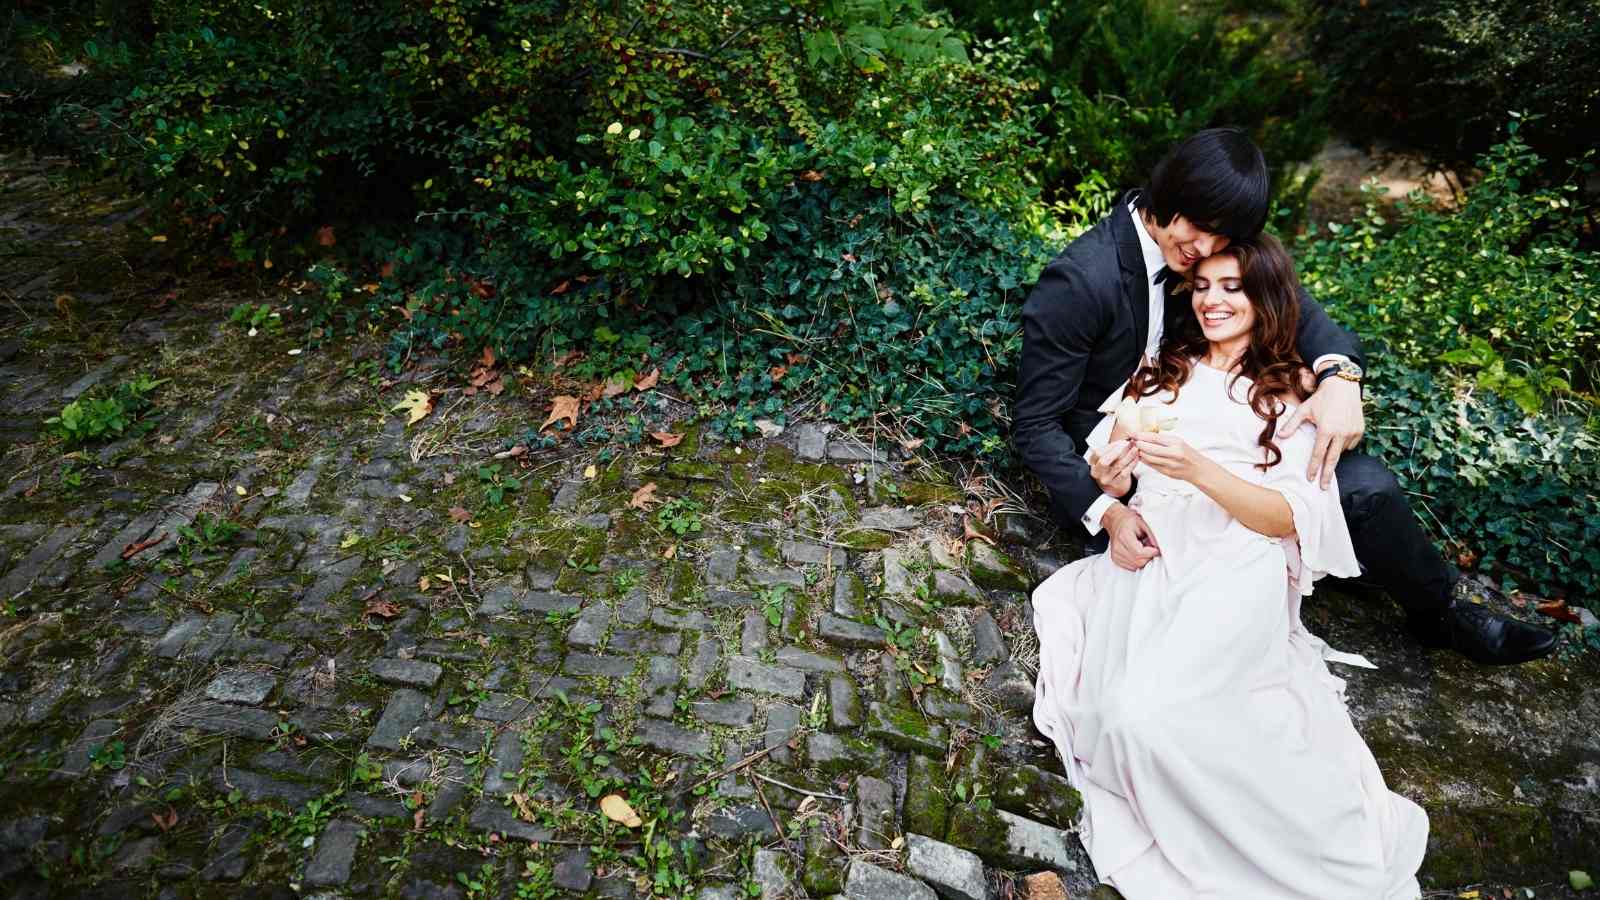
10 Pro Editing Tips To Make Wedding Photos Gorgeous
Make your wedding pictures more gorgeous and have a professional look; make sure you use some pro editing tips. For you here, we’ve collected some of them for you-
1. Background Remover
Though removing background is a primary task, it's also time-consuming. Based on the picture’s complexity, it can be a complicated job. For this reason, there are some photo background removal services available.
You can hire an expert to remove objects and people from your photo and replace them with a new background.
2. Removing Noise
Images captured in low light can cause tiny fuzzy specks, which is called “Noise,” and this can ruin your best wedding photos. Among the types of noise, there is color noise, and the other kind is luminance noise.
When your photo’s color is distorted, it’s called color noise, and when any low light creates visible grain in your wedding images, this is called luminance noise. First, remove the color noise and then work with the luminance noise.
3. Clone Tool
This pro editing tool can help you remove minor defects and any annoying objects from your images. These minor things catch one's eye while one watches your wedding photos. The tool is also useful for removing major defects.
With the clone tool, you can solve close face photos, wrinkles, any spots like pimples and make your wedding photos quality.
4. Dodge And Burn
You can use this tool in your pictures in certain areas. It can organize exposure which will give your photographs a compelling and dramatic vibe. You can do this work in two simple parts.
Remove the light, and the overshadowing of the photos can be removed with the dodge tool. On the other hand, the burn tool draws attention to hidden features. After using both devices, your wedding pictures can be magical.
5. Tint Filter Application
If you’re applying this tool to the lighter pictures, use the Beautify function for 20% strength. For this, dark pink along with purple filters will be the best one. Converting your images into the most desirable ones is very simple with this tool.
6. Contrasting Ideas
Professionals frequently discuss picture contrasting as being related to, or even a cousin to, changing brightness. Contrasting focuses on adjusting the shadows and highlights of a photo rather than balancing the color to improve the photo's quality.
Because adjusting the contrast can be intimidating for novices. The most accessible approach we recommend is changing the amount and seeing which number best suits the shot. You can also look for presets online and use them.
7. Eliminate Haze
There will be a dehaze tool that can improve the light quality of your pictures that are hazy. You just need to slide a button to adjust the haziness of your wedding photos. There are a few reasons that you should remove the haziness from your images:
- To create sharp lines along with clear subjects
- Improving saturated color
- Enhancing the photo’s structure
8. Layering And Magical Touches
You can use the Beautify tool for magical touches and set it to 45. After adding the warmth, decrease the green color with the color mixer tool. You can also use this trick - red to 24, green to -14 as well as blue to 21.
9. Focus And Blur
In one picture you need to focus on one single element, and you can do this with these tools. You can focus on a particular thing in the photo with the focus tool, on which you need to set the opacity at 51, hardness at 50. Now set the blur tool at 100 and see the magic.
10. Beautiful Bokeh
Try the Bokeh tool to bring your photos to a new level. Add the Bokeh 2 at around ¾ strength. After that, add the Beautify tool at 15%. The best thing about using bokeh in your wedding photos is that it allows you to focus on the bride and groom.
As a result, they appear to be the only ones in the room with all of their guests and loved ones. It's also great for small elements like the wedding cake. In this case, the other items on the table can be blurred into the backdrop.
Wrapping Up
You can’t take your wedding photos to be blurry or hazy. Taking wedding photos takes so much time and effort that you can make them more gorgeous by editing them properly.
As we said in this write-up, to bring out all your creativity, use these tools accurately and see the magic you want in your wedding photos. These photo editing ideas can help you to be a professional editor and make your pictures unique.

